Door measurement is the first step in installing or replacing a door. It is crucial to take the correct measurements at the beginning of a project to avoid any mistakes during installation. But everybody isn’t a pro at it. It might seem easy, but a tiny measurement mistake can result in the wrong door size.
That’s why our team at Precision Doors & Window has provided this brief guide on how to measure a door for replacement. We’ll share some essential tips to make it easier for you while you measure your existing door, ensuring a smooth and hassle-free replacement project.
Why Is Measuring A Door Before Replacement Important?
Measuring your door before you start the replacement process is crucial to reducing the chances of the new door being the wrong size.
Measuring your existing door before replacement ensures it will fit perfectly and reduces the chances of purchasing a wrong-sized door. It also prevents the chance of having to return or exchange the door, saving you time, money, and hassle.
5 Easy Steps For Measuring A Door Before Replacement
Step 1: Measure the Height

To measure the door’s height, extend a tape measure from the top to the bottom corner on one side of the door. It’s important to do this on both the right and left sides to ensure accuracy. For sliding doors, measure from the bottom track up to the top of the frame. It may be helpful to have someone assist you to ensure the tape measure stays in place.
Step 2: Measure the Width

Take width measurements at three points: the bottom, middle, and top of the door. For doors that open outward, ensure the door remains closed while you measure it to maintain accuracy. For inward-opening doors, lock the door to prevent it from being opened accidentally during measurement.
Step 3: Check for Squareness
To determine if the door frame is square, measure diagonally from each top corner to the opposite bottom corner. If these two measurements are the same, your door frame is square. If not, you may need to make adjustments during installation to ensure a proper fit.
Step 4: Measure the Thickness

You have two options for measuring the door’s thickness. First, you can measure directly along the door’s edge. Alternatively, measure from the door stop to the back of the door jamb. Both methods provide similar measurements, so choose the method that you find the easiest.
Step 5: Verify Your Measurements
After completing the initial measurements for height and width, it’s crucial to double-check them to prevent any mistakes. Write down everything, and for the most reliable fit, especially for new installations, use the largest measurements obtained for both width and height. This step ensures that you account for any irregularities in the door frame, allowing for adjustments during installation for a perfect fit.
Critical Tips For Homeowners Measuring Their Doors For Replacement!
1. The direction of the door swing is frequently forgotten when replacing a door. Note this when measuring your existing door.
2. When replacing a wooden exterior or interior door, allow for some freedom in your door measurements. Doing this will permit the door to accommodate any change in dimension caused by the weather. A wood door will gradually contract and expand during the year if you live in a location that experiences all four seasons.
3. To measure a pre-hung door for replacement, start by removing the trim since it’s not included in your measurements. To find the width, measure the distance between the outer edges of the door jambs (the vertical frames on each side of the door). For the height, place your tape measure at the bottom jamb and extend it vertically to the top jamb. Lastly, to determine the door’s thickness, measure the edge of the door by extending your tape measure horizontally.
4. If you’re replacing a door in an older home, the door may no longer fit the frame. In this scenario, you’ll need to measure the jamb itself.
5. Always take a photo or draw a rough picture of your door’s style for your door installer or carpenter. Providing a depiction of your door to a professional gives them a better idea of its framework, as multiple types of doors are available on the market.
Also Read: 9 Best Types Of Doors For Your Home’s Interior And Exterior
Get A Precise Door Installation With Precision Door & Window
Taking accurate door measurements is a critical step that demands careful attention. Dedicate ample time to ensuring precise measurements and considering some of the tips provided here to guarantee a seamless installation and a perfect fit for your new door.
Always remember to double-check your work meticulously to prevent costly errors. Armed with these guidelines, you’ll be fully prepared to tackle during your door replacement project confidently, ultimately achieving professional-grade results.
At Precision Door & Window, we understand the importance of creating a welcoming and beautiful home. We are a renowned door and window replacement company in Southern California, and with over 20 years of experience, we are known for our exceptional service delivery. Allow our friendly experts to walk you through the process of transforming your home with elegance and charm. Call us at (951) 595-0126 for a free consultation and estimate on door replacements in Temecula, and surrounding areas of Southern California. Experience the warmth and beauty of a captivating entryway that greets you daily.
FAQs
A. When measuring your door, you’ll need a measuring tape to take precise measurements, a pen and paper for jotting down measurements and notes, and, optionally, a framing square to ensure straight lines and angles. Additionally, grid paper can help visualize layouts and proportions.
A.SThe rough opening is essentially the space in a wall where a door (including its frame) will be installed. It’s the gap that is left in the wall framing before any door frame, trim, or finish material is added. The dimensions of the rough opening are crucial because they must be slightly larger than the door unit (the door slab plus its frame) to allow for adjustments during installation, ensuring the door can be properly leveled, squared, and secured.
Related Articles
-
 August 14, 2025Can Window Replacement be Done DIY?Thinking about DIY window replacement? Discover the tools, skills, and steps required—plus when it’s best to hire a pro.
 -
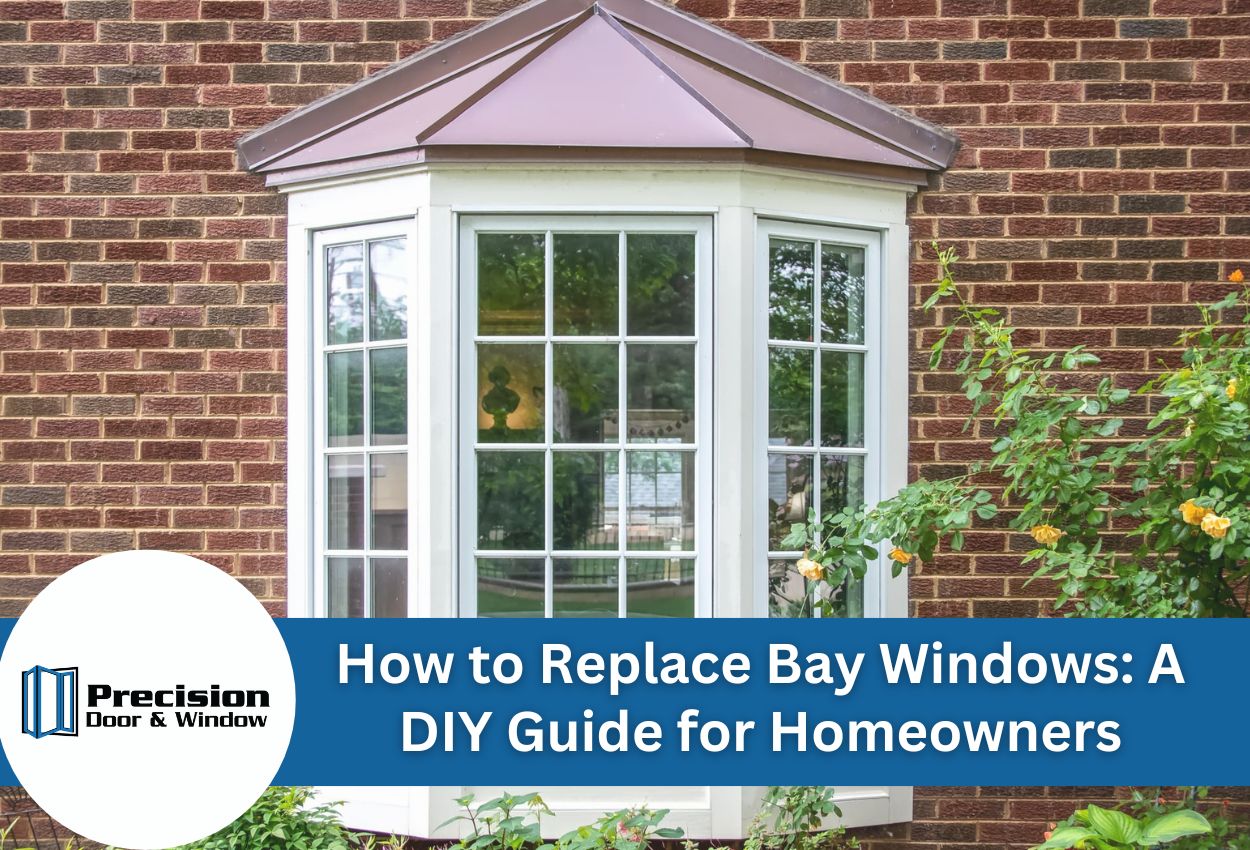 August 12, 2025How to Replace Bay Windows: A DIY Guide for HomeownersReplacing bay windows? Follow our DIY guide with tools, installation steps, and expert tips.
 -
 October 14, 2025How Long Does A Sliding Glass Door Replacement Really Take?Replacing a sliding glass door? Discover the timeline for every step from ordering to installation and tips to avoid delays.
Protect Your Home with Expert Roofing
Don’t wait for leaks or storm damage to cause costly repairs. Our experienced roofing team provides fast, reliable service, high-quality materials, and lasting results. Ensure your home stays safe, secure, and looking great—contact us today for a free estimate.